Project Iteration 2
This Iteration Goals
Since we are working remotely, we decided to once again create three distinct task lists for the second iteration (assignments are noted in parentheses):
-
Improve upon the interface to create a UI almost completely controlled through the Haply and bugfixes. (Linnea)
-
Add texture to the walls and UI elements and collect opinions on texture. (Marco)
-
Integrate the different explorations from Iteration 1, quality assurance testing, and work with Marco to set up a texture testing codebase. (Preeti)
Technical Approach and Findings
Preeti - integration, QA testing, and setting up texture testing code
Preeti took our three separate codebases from Iteration 1 and integrated them into one functional codebase. She then tested the integrated code for quality and came up with a list of bugs that she then passed onto me for fixing:
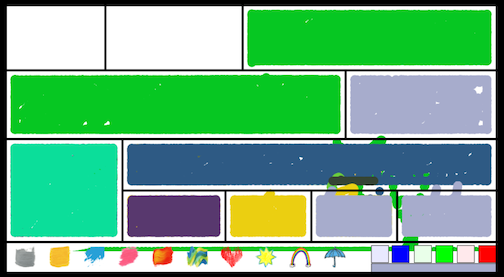
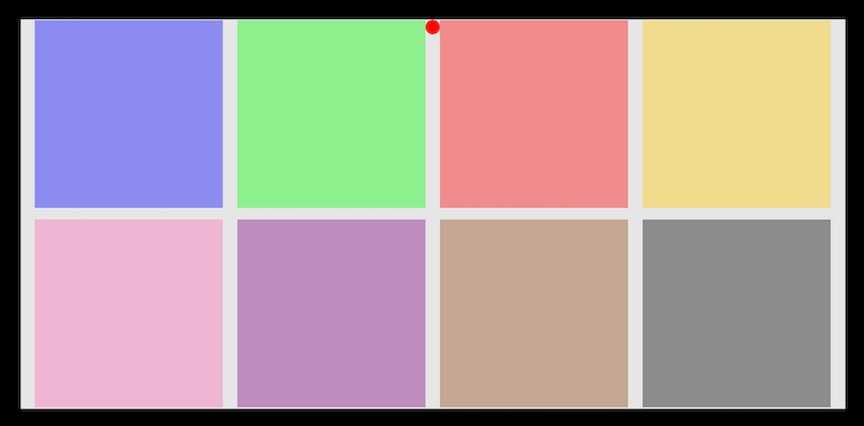
She and Marco then compiled a simple interface of their texture explorations so that we could gather some preliminary feedback on texture.
Marco - add texture to elements and create a texture testing survey
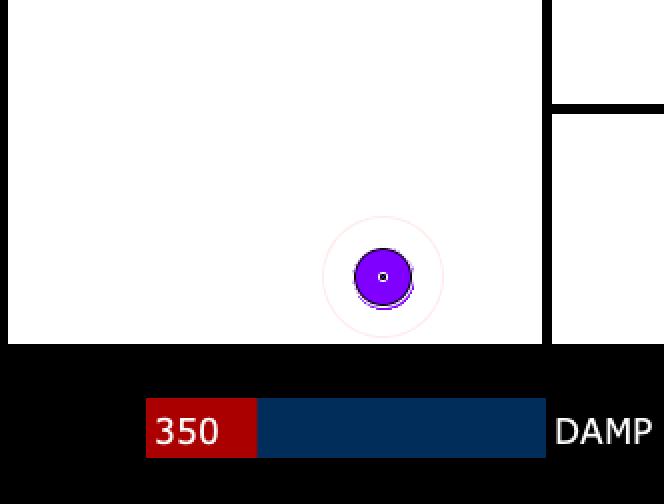
Marco added a damping effect to the walls of the coloring screen by adding a sensor surrounding the brush like a halo. When the sensor touches a wall, it increases the damping and makes the coloring experience smoother around walls. He also added a honey-like effect to the color picker “buttons” that I added to make it feel like the user is dipping a brush into paint.
He then created a survey to go along with the texture exploration interface so that we could collect some opinions from other students in the class about which textures feel good to color on.
Linnea - continuing UI and UX development
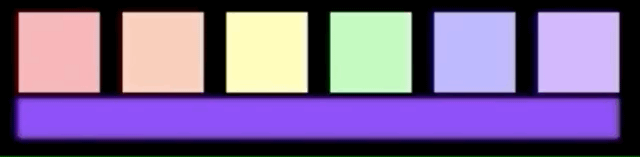
Modifying the color picker
After speaking with our mentors, I decided to switch the color picker from a “mix it yourself” to a “pick from these six options” color picker. Because users would probably want to color with more than just six colors, I decided to make ColorPalette and ColorSwatch classes so that I could save multiple color palettes and users could swap between them:
public class ColorPalette{
  public ColorSwatch[] palette = new ColorSwatch[6];

  public ColorPalette(ColorSwatch[] p){
    for(int i=0; i<p.length; i++){
      this.palette[i] = p[i];
    }
  }

  public ColorPalette(ColorSwatch s0, ColorSwatch s1, ColorSwatch s2, ColorSwatch s3, ColorSwatch s4, ColorSwatch s5){
    this(new ColorSwatch[] {s0, s1, s2, s3, s4, s5});
  }

  //create empty (black) color palette
  public ColorPalette(){
    this(new ColorSwatch[] {});
  }

  public int getLength(){
    return palette.length;
  }

  //returns black if swatch doesn't exist
  public ColorSwatch getSwatch(int index){
    if(this.palette[index] != null){
      return this.palette[index];
    }
    return new ColorSwatch(0, 0, 0);
  }

  //returns previous color or black if no previous color
  public ColorSwatch setSwatch(int index, ColorSwatch swatch){
    ColorSwatch ret = this.getSwatch(index);
    this.palette[index] = swatch;
    return ret;
  }

  //returns previous color or black if no previous color
  public ColorSwatch addSwatch(ColorSwatch swatch){
    ColorSwatch ret = this.getSwatch(this.palette.length);
    this.palette[this.palette.length] = swatch;
    return ret;
  }

  //removes swatch at index and replaces with black, returns original color or black if no original color
  public ColorSwatch removeSwatch(int index){
    ColorSwatch ret = this.getSwatch(index);
    this.palette[index] = new ColorSwatch(0, 0, 0);
    return ret;
  }

}
The ColorPalette object consists of and array of six ColorSwatch objects and is able to add, set, and remove swatches, keeping a default color of black for any undefined swatches.
public class ColorSwatch{
  private int r;
  private int g;
  private int b;
  private int paletteIndex;

  public ColorSwatch(int r, int g, int b, int index){
    this.r = r;
    this.g = g;
    this.b = b;
    this.paletteIndex = index;
  }

  public ColorSwatch(int r, int g, int b){
    this(r, g, b, 0);
  }

  public ColorSwatch(int[] c){
    this(c[0], c[1], c[2], 0);
  }

  //default to black
  public ColorSwatch(){
   this(0, 0, 0, 0);
  }

  public void setPaletteIndex(int index){
    paletteIndex = index;
  }

  public int getPaletteIndex(){
    return paletteIndex;
  }

  public int getRed(){
    return this.r;
  }

  public int getGreen(){
    return this.g;
  }

  public int getBlue(){
    return this.b;
  }

  public int[] getColor(){
    int[] ret = {this.r, this.g, this.b};
    return ret;
  }

  public void setColor(int[] c){
    this.r = c[0];
    this.g = c[1];
    this.b = c[2];
  }

  public void setColor(int r, int g, int b){
    this.r = r;
    this.g = g;
    this.b = b;
  }

}
The ColorSwatch object consists of a representation of an RGB color and an index in a ColorPalette object. It is able to get and set itself in a couple different ways just out of convenience.
In my opinion, the new and improved color picker feels satisfying to use when in action. I also modified the cursor to change color to match the selected color so the user will not have to look at the bottom of the screen to see the selected color.
Bugfixes
I went through Preeti’s list of bugs and was able to find solutions for all of them.
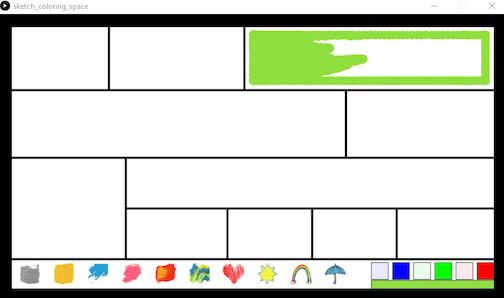
Finding the brush while coloring
I added a multi-layer outline around the brush when in coloring mode along with a multi-layer ring in the middle to indicate the center of the brush. I used black and white for the rings so the brush would show up on both dark and light backgrounds.
Coloring up to the edges
I realized that the reason the brush was unable to color all the way to the edge of the walls was because the invisible FCircle attached to the Haply was bigger than the brush itself. I modified the code so that the HVirtualCoupling representation and the brush representation are always the same size and when one changes size, so does the other.
Centering the cursor and brush
For some reason, Processing’s width and height variables give slightly different values than the values worldWidth and worldHeight variables multiplied by the pixelsPerCentimeter variable. The brush was using one set of variables and the cursor was using the other set, so I changed the code so both used one set of variables.
No more splotches of color over the lines or in the button area
I modified the code so that the user is unable to switch to coloring mode when in the button area or when touching a wall so there is no more issue of splotches of color going over the lines or appearing in the toolbar.
Starting the program with a splotch of color
I changed the starting setup so that the program starts out of coloring mode. This way, the user can choose where to start coloring, pick a color to begin with, and will not have to deal with a rogue splotch of color.
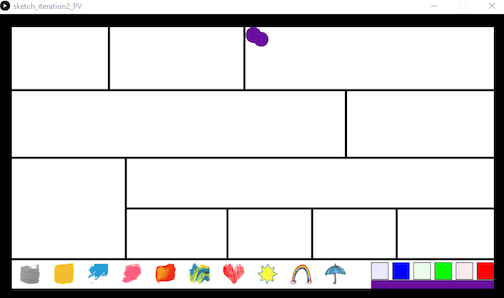
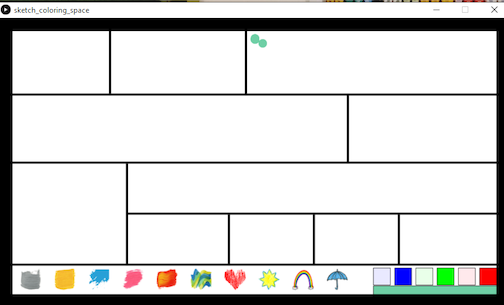
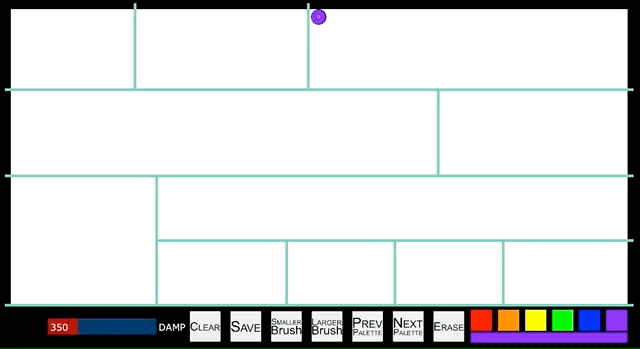
Adding buttons
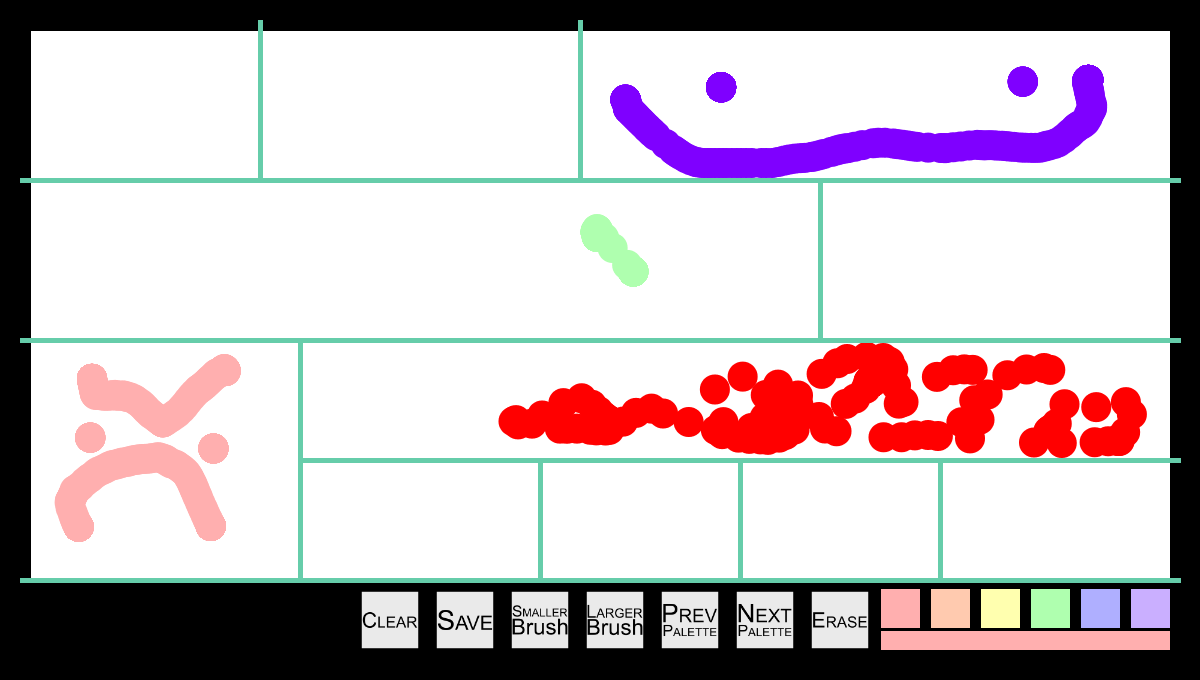
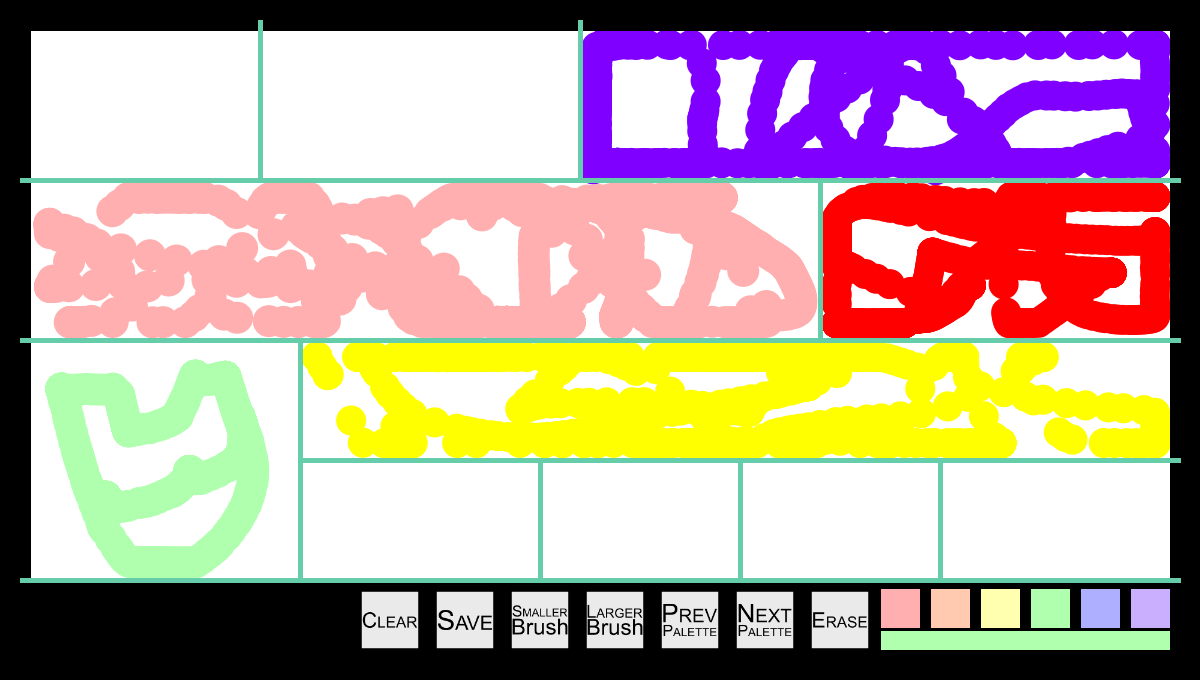
I added several “buttons” to the UI in the form of FBox objects that, when touched by the cursor, activate certain effects. I also filled in the background of the toolbar with black to distinguish it from the coloring screen.

Erase
Because I didn’t want to deal with saving user motion, I kept the eraser simple by having it switch the brush color to white. Because the canvas background is white, a white brush appears to “erase.”
Previous and Next Palette
The previous and next palette buttons decrement and increment, respectively, a variable called paletteIndex which is modded by the number of palettes to get a valid palette index. The palette is obtained from a list of ColorPalette objects and loaded into the toolbar.
Smaller and Larger Brush
The smaller and larger brush buttons decrease and increase, respectively, the size of the brush, the FCircle attached to the Haply, the sensor halo around the brush, and the cursor. At the moment, the brush changes size very slowly, which can be frustrating for the user. I am currently brainstorming ideas to fix this issue.
Save
The save button saves unique .png files of layers[0] and layers[1] to a subfolder called “saved” in the code’s folder each time it is called. Because the filenames are unique, the user can save multiple images each coloring session.
Clear
The clear button resets the layers and adds a new white background to the layer g.

Setting up a new and improved brush
In order to create a more nuanced visual painting texture, I needed to set up another set of classes:
import java.util.ArrayList;
import processing.core.PGraphics;

public class Brush {
  private float paintAmount;
  private int[] paintColor = new int[3];
  private ArrayList<Bristle> bristles = new ArrayList<Bristle>();
  private float scaleFactor;

  public Brush() {
    this(new int[] {0, 0, 0});
  }

  public Brush(int[] c) {
    this.paintColor = c;
    this.paintAmount = 0.0f;
    this.scaleFactor = 30f;
  }

  public void changeColor(int[] c) {
    this.paintColor = c;
  }

  public int[] getColor() {
    return this.paintColor;
  }

  public void setScale(float s) {
    this.scaleFactor = s;
  }

  public float getScale() {
    return this.scaleFactor;
  }

  public void addBristle(Bristle b) {
    this.bristles.add(b);
  }

  public int numBristles() {
    return this.bristles.size();
  }

  public ArrayList<Bristle> getBristles() {
    return this.bristles;
  }

  public void larger(float amount){
    scaleFactor += amount;
  }

  public void smaller(float amount){
    scaleFactor -= amount;
    if (scaleFactor < 1f) {
      scaleFactor = 1f;
    }
  }

  public void paint(PGraphics layer, float x, float y) {
    layer.ellipse(x, y, scaleFactor, scaleFactor);
  }
}
The Brush object contains a collection of Bristle objects, is aware of the color it is using, and has a paint method.
public class Bristle {
  private float weight;
  private Brush brush;
  private int[] index = new int[2];
  private float opacity;
  private float scaleFactor;
  private Boolean middleEdge = false;

  public Bristle(float w, Brush b, int[] coords){
    this.weight = w;
    this.brush = b;
    this.index[0] = coords[0];
    this.index[1] = coords[1];
  }

  public void setMiddleEdge(Boolean b){
    this.middleEdge = b;
  }

  public Boolean isMiddleEdge(){
    return this.middleEdge;
  }
}
The Bristle object knows where it is in a Brush object and has its own weight and opacity.
My idea is to have a Brush object consisting of multiple Bristles that will vary in weight and opacity and will eventually “run out” of paint. At the moment, I have set up my classes but have not yet implemented the more nuanced paint method. The current paint method simply draws a circle at the brush position.
Putting it all together
The code can be found here.
Lessons Learned
I think once again we achieved a significant amount this iteration. Preeti’s quality assurance testing was particularly useful for me to improve upon what I had achieved in iteration 1.
One of the major lessons I learned this iteration was that I am quite good at productive procrastination (ha ha). I was planning on creating the toolbar next iteration, but this iteration I was so nervous about completing the Brush class paint method that I ended up creating the entire toolbar!
I think the biggest obstacles we have moving forward is making the entire experience feel good. I am currently concerned that the visual aspect of coloring is overshadowing the haptic experience. I believe user testing is key to fully integrating the different modalities and creating one solid experience.
Next Iteration Goals
My next iteration goals are to:
- Complete the nuanced brush visual coloring texture.
- Add a check to make sure the user actually wants to clear instead of automatically clearing.
- Make it less frustrating to change the brush size.
- Integrate more haptic effects into the experience so the experience feels more like coloring.
- Get more feedback from new users to see how we can make the full experience feel calming and pleasant.
- Get more quality assurance feedback from Preeti and fix any new bugs that crop up.
- Add more “pages” to color on.
No comments
Comments are closed